


Christmas Playlist Day 17- The First Noel
Hey Peeps,
I love crafts, being creative and making things. I really enjoyed art in Year 7 and 8 but with my busy schedule I didn't have the time to take it as an option for my GCSE's. But instead I like to do crafty things at home and because Christmas is next week I thought I had better get a move on with the Christmas Crafts post I have been planning for ages so here we go...
You will need: Cardboard/card cut outs of Christmas things (I have baubles and you could do trees, love hearts, presents), festive coloured paper, PVA/craft glue, scissors, pen/pencil and something to protect your work surface. I have used some paper as it was the easiest thing I could find.
First you will need to get your coloured paper and cardboard cut out ready. Then you will need to cut the paper into even thin strips of about 2-3 cm. Once you have got all your strips, cut each strip into three. Then coat the back of each piece of paper and stick it onto the card. I would recommend doing this on a slight diagonal as it looks more effective. When sticking your paper make sure some of it hangs over the edge because then we can cut it off nice and neatly later. Once you have covered the whole card, take a thicker strip of paper (or if yours are thin you can stick two together) and place it underneath any tricky parts that are hard to cover. For me this is the top of the bauble. Draw around it and then cut it out precisely. On my bauble I have punched a hole through it so I can hang it on the tree but you can do as you wish. Now that everything is covered go and make your self a hot festive drink and wait 20 minutes for the glue to dry. Now start by turning the card the wrong way around and being to cut around the card getting rid of paper hang off and making the edges all neat. If you get and really fiddly bits you can turn the edges over and glue it down with PVA glue. You may want to punch a hole through and hang it on the tree or you can put some blue tack on the back and stick them around your room like I am going to do!
I hope you have enjoyed this festive Christmas crafts post and if you would like to see more crafty posts in the future please let me know as I always take on board your feedback and I always love to know what you guys think. After all, you are the ones who read my posts! Also you may have noticed that I have added some more pages to the top of my blog, I have now got beauty, fashion and lifestyle pages so you can find my posts easier and navigate around my blog as you wish. Also I now have guest posting available and I would love to offer some of you a chance to guest post on my blog. You can click here to read that page for more information and if you would like to do a guest post on my blog, just send me an email at missbeccabeauty@gmail.com and we can chat about what post you would like to do!
Where else to find me:
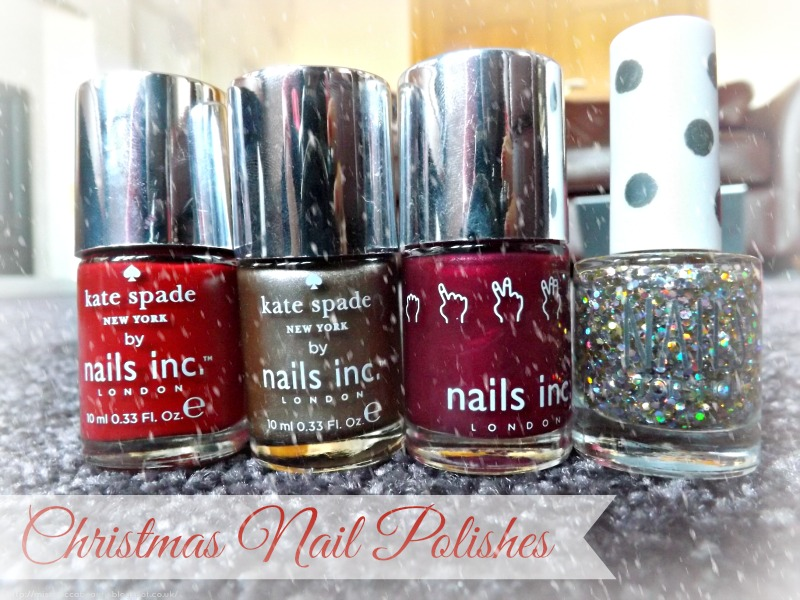
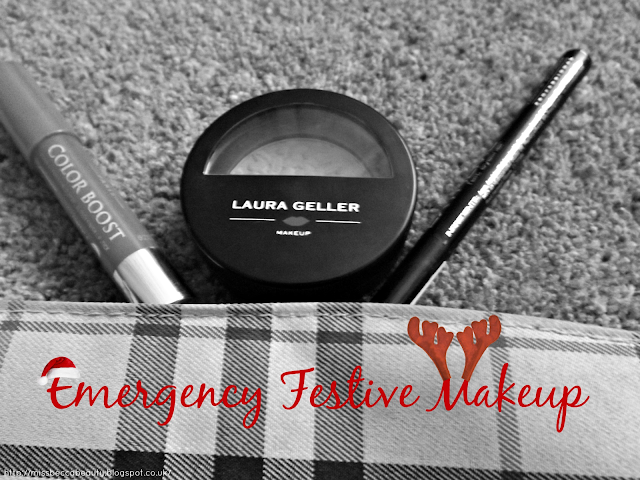
You may also be interested in:
|
|
|
|
|
|


Those r so pretty!!!!! :)
ReplyDelete<3 victorique